Project Move Tasks
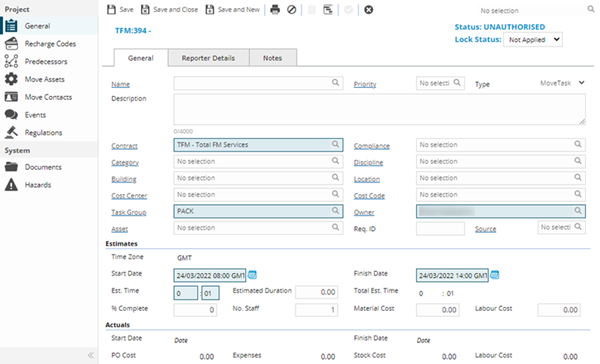
Within the Projects Module it is possible to create Move Tasks. These allow for Assets and Contacts to be moved from one Location to another via a Project Task.
Modules > Projects > Project - Tasks Groups - Project Task
The link will open the Tasks Groups / Project Task grid. It is a grid view that can be customised and sorted as normal.
To add a new Project Task click New ![]() , to edit an existing Project Task click Edit
, to edit an existing Project Task click Edit ![]() . A pop up window will appear which will allow the creation or amendment of a Project Task.
. A pop up window will appear which will allow the creation or amendment of a Project Task.

To make the Task a Move Task the Type must be set to Move Task. Upon Save additional sub navigations will be come available. These include:
- Move Assets
- Move Contacts
Move Assets
Move Asset Tasks will allow Assets to be easily moved from one Location to another.
Modules > Projects > Project - Tasks Groups - Project Task - Move Assets
 Click to view - Move Asset Fields and Descriptions
Complete the fields and click Save ![]() . Once the Asset Move header has been completed and saved an icon will appear to allow the Assets to be moved. To move the Assets click Move Assets
. Once the Asset Move header has been completed and saved an icon will appear to allow the Assets to be moved. To move the Assets click Move Assets ![]() .
.
Move Contacts
Move Contact Tasks will allow Contacts to be easily moved from one Location to another.
Modules > Projects > Project - Tasks Groups - Project Task - Move Contacts
 Click to view - Move Contacts Fields and Descriptions
Complete the fields and click Save ![]() . Once the Contact Move header has been completed and saved an icon will appear to allow the Contacts to be moved. To move the Contacts click Move Contacts
. Once the Contact Move header has been completed and saved an icon will appear to allow the Contacts to be moved. To move the Contacts click Move Contacts ![]() .
.
If labels have been requested they can be printed by clicking Print Labels ![]() .
.